Popcorn ceilings are one of those things many homeowners eventually want gone. They can make a room look dated, they collect dust, and once there is water damage, cracking, sagging, or old repair work, they can become even more noticeable.
But fixing or resurfacing a popcorn ceiling is not always as simple as scraping it off or rolling one coat of compound over it.
There are a few different ways to deal with a popcorn ceiling. Sometimes it can be skim coated. Sometimes it can be covered with new drywall. Sometimes removal makes sense. And sometimes the ceiling needs repair work before any finish work should be done.
The right method depends on the condition of the ceiling, how thick the texture is, whether the texture has been painted, whether there is water damage, and how smooth the homeowner wants the finished ceiling to look.
Popcorn Ceiling Work Is Usually Not a One-Day Repair
A popcorn ceiling project is usually not a quick one-day patch.
The room should be empty or close to empty because the ceiling has to be accessed, protected, coated, sanded, checked, and possibly painted. Furniture, floors, cabinets, fixtures, and nearby walls may all need protection before the work starts.
Unlike a small drywall repair, popcorn ceiling resurfacing involves the entire ceiling surface. Once the goal is a smooth ceiling, every part of that ceiling matters — not just one patch or one seam.
The Ceiling Has to Be Solid Before It Can Be Made Smooth
Before skim coating or covering a popcorn ceiling, the ceiling itself has to be checked.
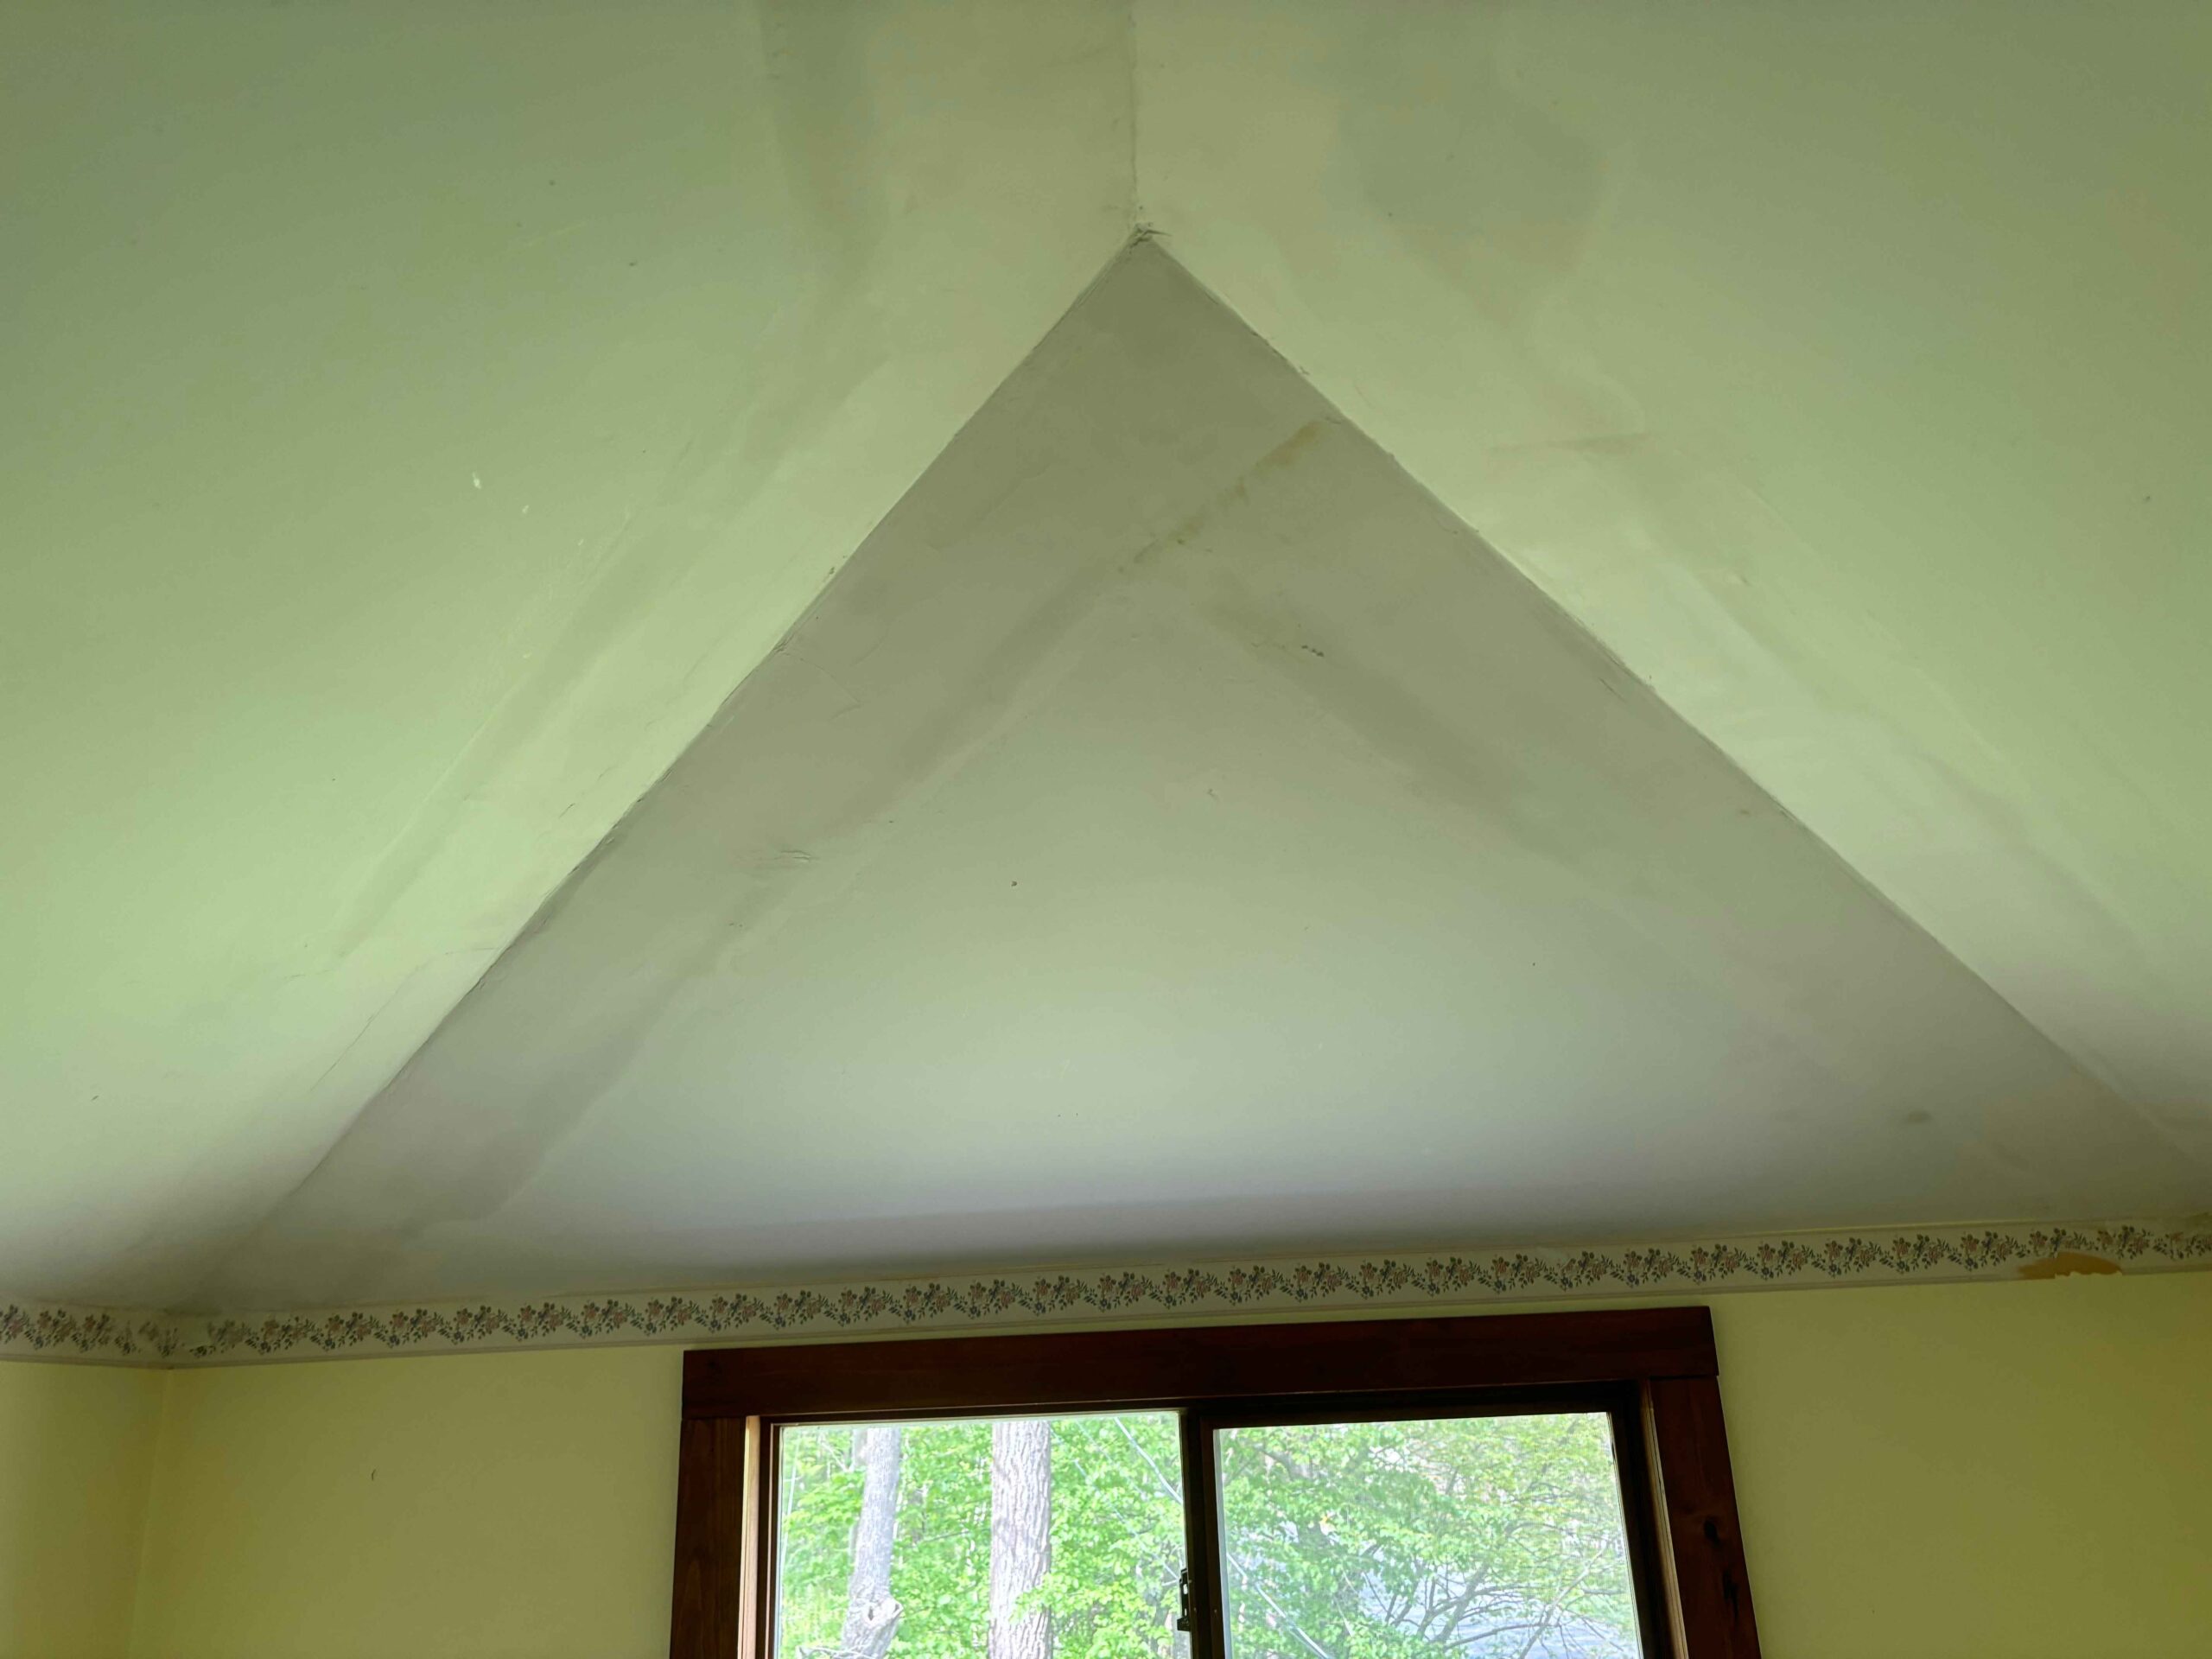
If there are sagging areas, loose drywall, failed tape, cracks, water damage, or old repairs, those issues may need to be corrected first. Skim coating over a loose or sagging ceiling does not fix the problem underneath.
Depending on the condition, the ceiling may need additional screws to tighten the drywall back to the framing. Some tape joints may need to be opened, repaired, or redone before the finish coats are applied. Water-damaged or weak areas may need more than just a surface coat.
A smooth finish is only as good as the surface underneath it.
The Thickness of the Popcorn Texture Matters
Not all popcorn ceilings are the same.
Some have a light texture. Others are heavy, lumpy, uneven, or painted over. The thickness and pattern of the popcorn texture affect how much work is involved.
A lighter texture may smooth out with fewer coats. A heavier or more uneven texture can take multiple coats before the ceiling is truly flat.
Skim coating is not just painting over texture. The surface has to be built out and flattened. The goal is to fill the low spots, cover the texture, and create a smooth surface that will still look good after paint.
Skim Coating Makes the Whole Ceiling the Repair Area
With new drywall, the main finishing areas are usually the seams, screw lines, corners, and cutouts.
With popcorn skim coating, the entire ceiling becomes the repair area.
That means touch-ups can show up anywhere, not just at the joints. Small ridges, drag marks, bubbles, scratches, low spots, old texture, and uneven areas can all become visible after sanding or painting.
This is one reason popcorn ceiling resurfacing can take more time than homeowners expect. The whole surface has to be worked, checked, and corrected.
Sanding a Popcorn Ceiling Resurface Is Different Than Sanding Normal Drywall
On a normal drywall job, most of the sanding is concentrated at the seams, screw lines, corners, and patched areas. That may only be a small percentage of the total ceiling or wall surface.
With popcorn ceiling resurfacing, the entire ceiling becomes the work area.
After the popcorn texture is skim coated, the full ceiling surface often has to be sanded and checked. Depending on how heavy the texture is and how many coats are needed, sanding may happen more than once during the process.
That is one of the reasons popcorn ceiling resurfacing is usually more involved than homeowners expect. It is not just a few seams or patches being sanded — the whole ceiling has to be made smooth.
To help control dust, we use a vacuum sander with a HEPA filter. It does not make the job completely dust-free, but it greatly reduces the amount of fine sanding dust compared with open sanding.
Why Removing Popcorn Texture Is Not Always Simple
Many homeowners ask why the popcorn texture cannot just be removed.
Sometimes it can. But removing popcorn texture is usually a wet, messy process. The texture has to be softened, scraped, cleaned up, and then the ceiling underneath still has to be evaluated.
Removing the popcorn does not automatically leave a paint-ready ceiling.
The surface underneath may be rough, damaged, uneven, or full of old repairs. It may still need skim coating, sanding, priming, and painting after the popcorn texture is removed.
Full Ceiling Removal Can Open Up a Bigger Job
Removing the popcorn texture is one thing. Removing the old drywall underneath is another.
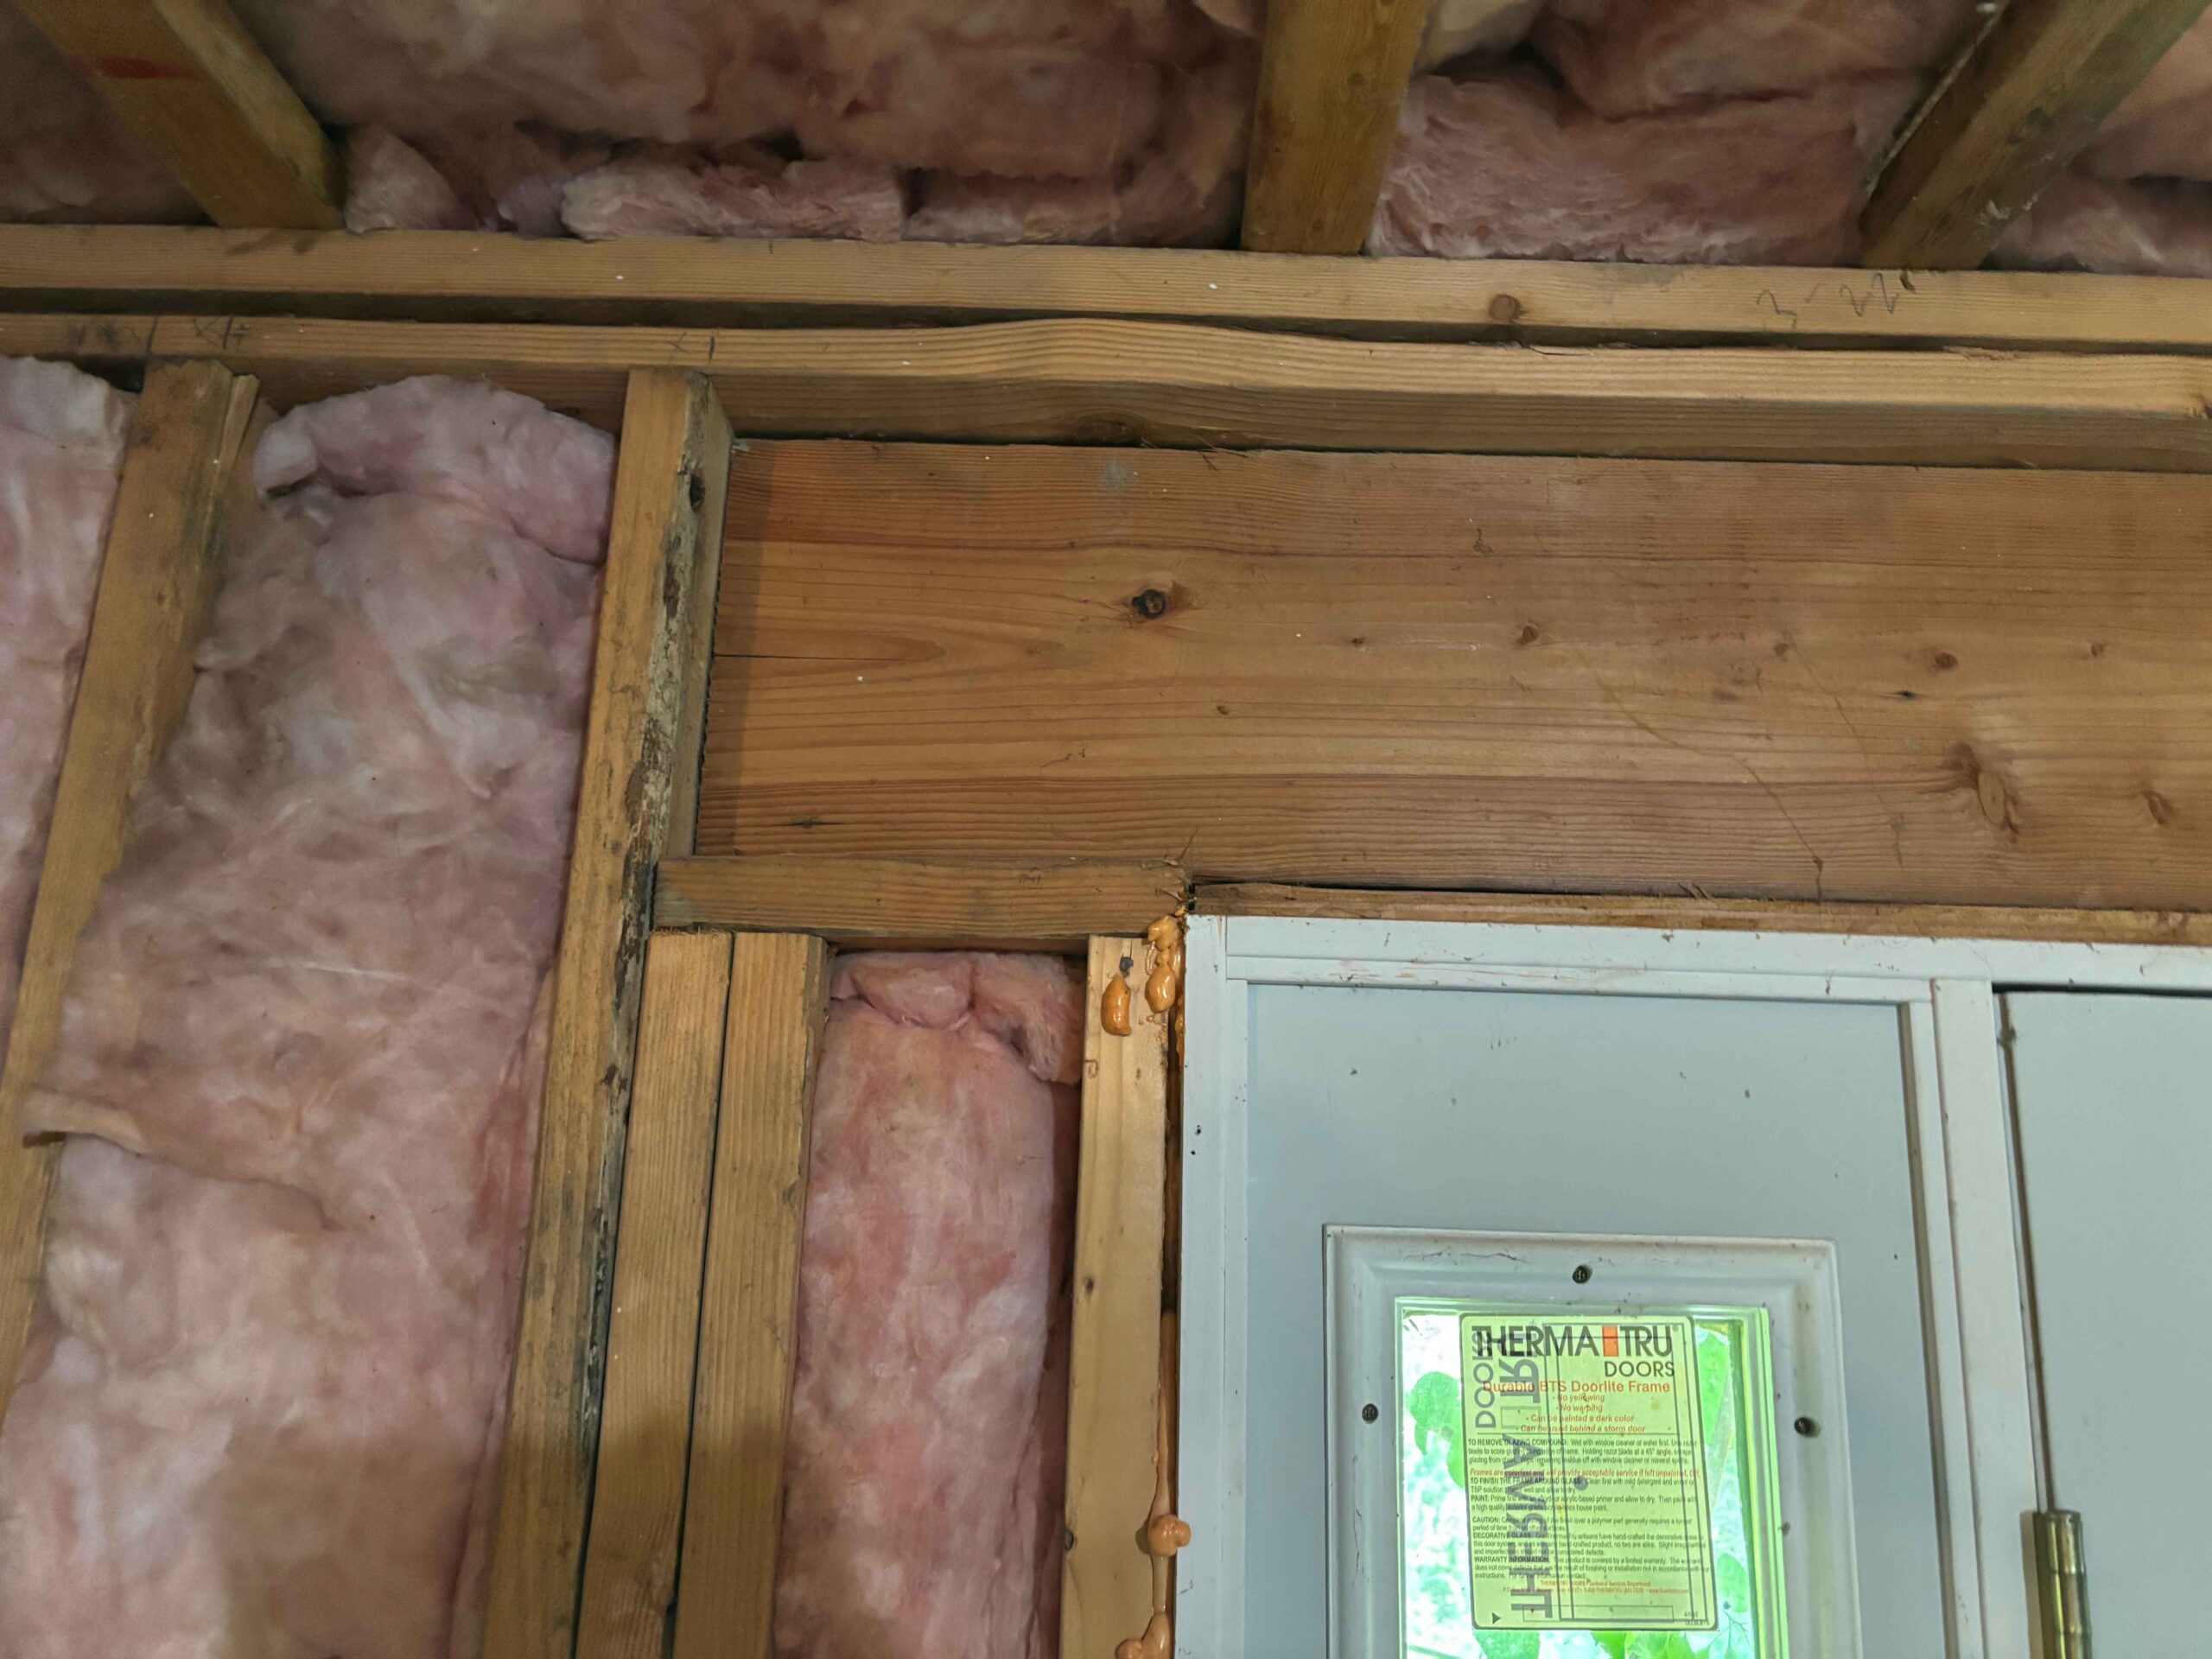
If the ceiling drywall comes down, the job becomes much bigger. Now there is demolition, haul-away, extra dust, and possible insulation issues.
On top-floor ceilings in older homes, there may be old dust sitting above the drywall from age, attic work, or past roof replacement. If the ceiling comes down, that dust can come down with it.
Blown-in insulation can also fall out when old ceiling drywall is removed. In some cases, insulation may need to be replaced or corrected before new drywall goes back up.
That does not mean full removal is never the right choice. Sometimes it is. But it should be understood as a larger project, not just a cleaner version of scraping popcorn.
Can New Drywall Go Over a Popcorn Ceiling?
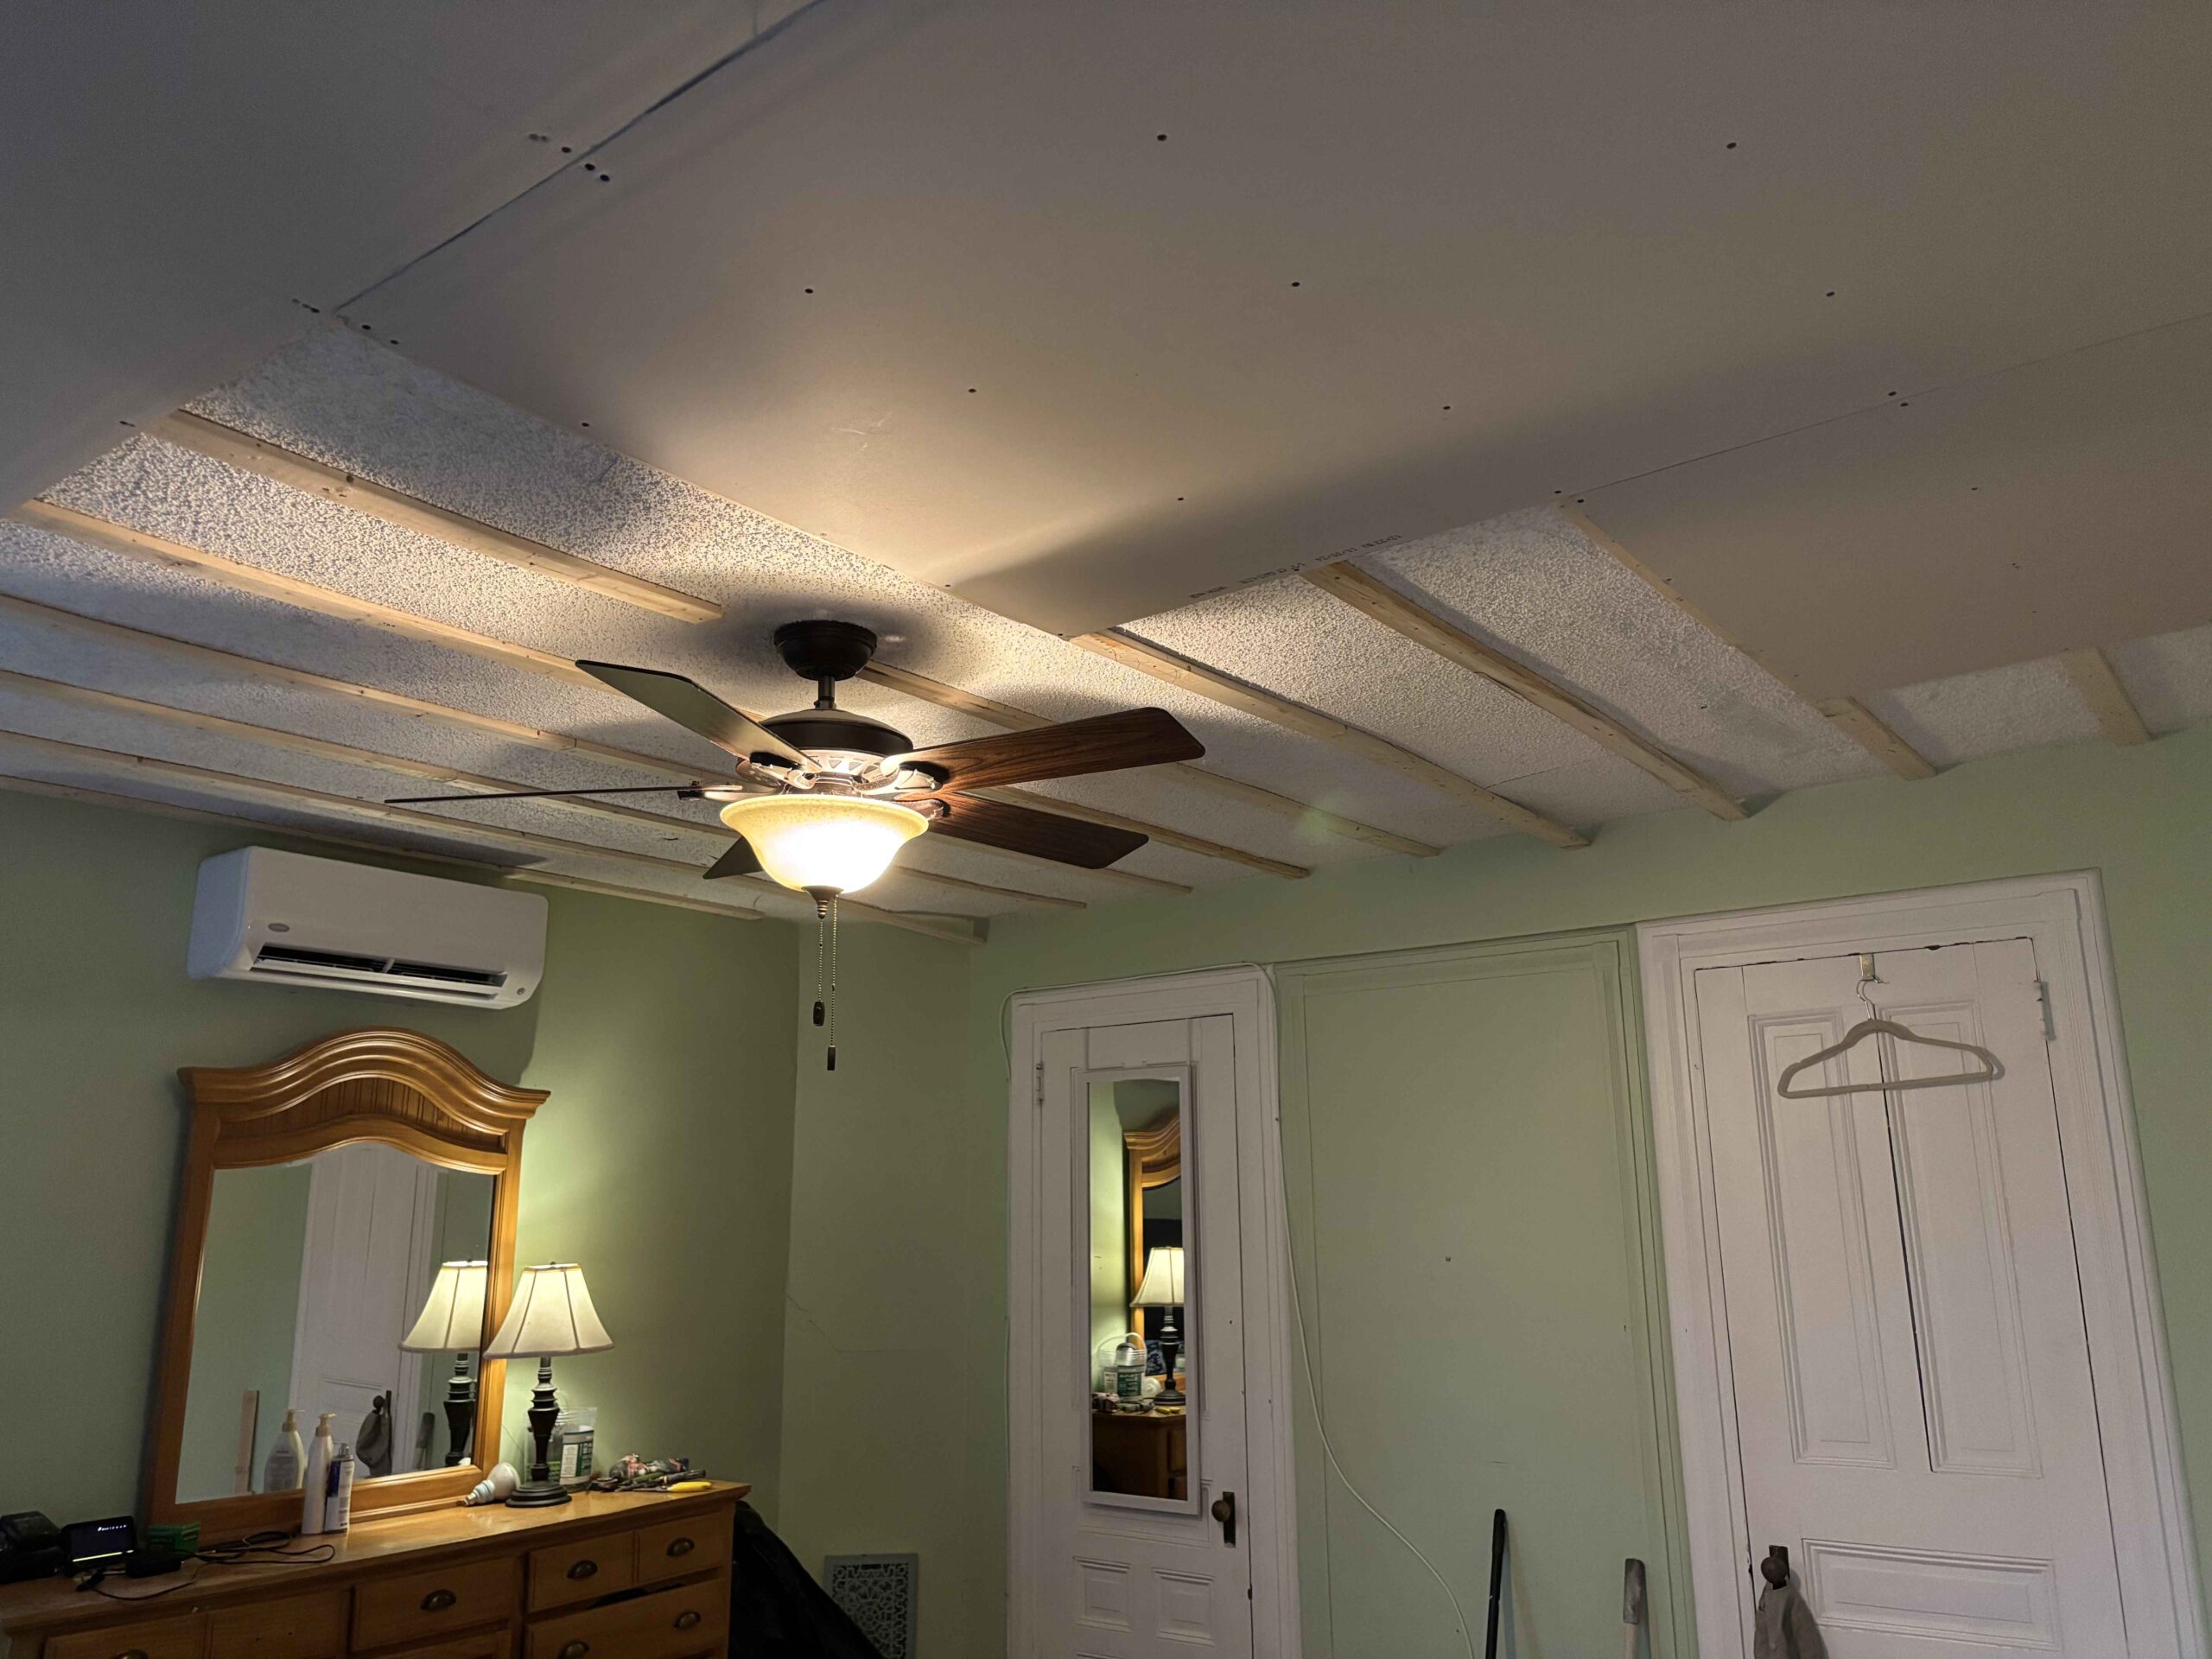
In some cases, yes. If the existing ceiling is solid, new drywall can sometimes be installed over the old popcorn ceiling.
This can create a more predictable surface than skim coating over heavy texture. But it also has its own details.
The framing has to be located properly. The new drywall needs to be fastened securely. Light fixtures, ceiling fans, vents, smoke detectors, and electrical boxes may need to be adjusted or extended. Edges at walls, cabinets, trim, or crown molding may also need to be handled carefully.
Drywall overlay can be a good option in the right situation, but it still needs to be looked at before deciding.
Skim Coat, Scrape, Cover, or Replace?
There is no one answer for every popcorn ceiling.
The best method depends on:
– How thick the popcorn texture is
– Whether the texture has been painted
– Whether the ceiling is sagging
– Whether there is water damage
– Whether old tape joints have failed
– Whether the room is empty or furnished
– How many lights, fans, vents, or fixtures are in the ceiling
– Whether the ceiling will be painted afterward
– How smooth the homeowner wants the finished result
Sometimes skim coating makes sense. Sometimes drywall overlay is the better choice. Sometimes damaged areas need to be repaired first. Sometimes full removal and replacement is the right answer.
The important thing is not to guess. The ceiling needs to be looked at as a whole.
Thinking About Updating a Popcorn Ceiling?
If you have a popcorn ceiling you want repaired, smoothed, or resurfaced, send photos of the ceiling, the room, and any damaged or sagging areas.
Fast Patch Drywall Repair can help determine whether skim coating, drywall overlay, repair work, or another approach makes the most sense for your home.
Popcorn ceiling work is not usually a quick patch. But done correctly, it can make a dated or damaged ceiling look clean, smooth, and updated again.
Call or text Chris at Fast Patch Drywall Repair to send photos and discuss the best next step.